Nginx 是一款免费开源、跨平台、功能强大的web服务器和反向代理软件,也是标准的 IMAP/POP3 和 TCP/UDP 代理服务器,也可以用于负载均衡。Nginx 是众所周知的 HTTP 服务器(可与 Apache 媲美),为众多站点提供 web 服务支持;它因其高性能和高稳定性而广受欢迎。
如果想要改善自己网站的用户体验,需要考虑各种各样的因素,包括网站速度和页面速度(也称为页面加载时间)。如果你的站点也使用 Nginx ,那么赶快使用 ngx_pagespeed 模块来提升网站的加载速度吧。如果使用的是Apache,可以参考如何在 Apache 和 Nginx 上安装 PageSpeed 提升网站速度。
Ngx_pagespeed 的特点:
- 支持 HTTPS 和 URL 控制;
- 图像优化:剥离元数据、动态调整大小、重新压缩;
- CSS 和 JavaScript 压缩、串联、内联;
- 小资源内联;
- 延迟图像和 JavaScript 加载;
- HTML 重写;
- 缓存期限延长;
- 允许配置多个服务器。
在本文中,我们将介绍如何在 RHEL/CentOS 7 上安装 ngx_pagespeed 。
第 1 步:从源代码安装 Nginx
安装 Nginx 和 ngx_pagespeed 模块,需要从源代码编译它。首先安装编译 Nginx 需要的所有包。
# yum install wget gcc cmake unzip gcc-c++ pcre-devel zlib-devel
OR
# yum group install "Development Tools"

接下来,使用 wget 命令获取最新版本的 Nginx 源文件:
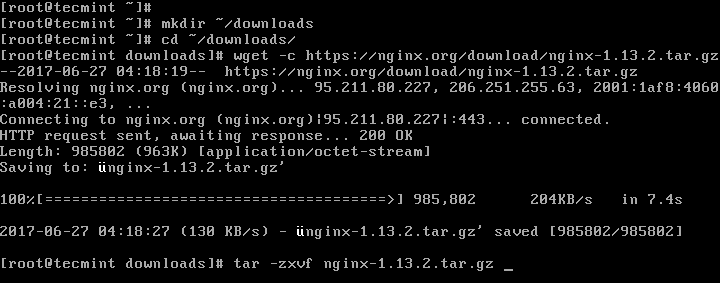
# mkdir ~/downloads
# cd ~/downloads
# wget -c https://nginx.org/download/nginx-1.13.2.tar.gz
# tar -xzvf nginx-1.13.2.tar.gz
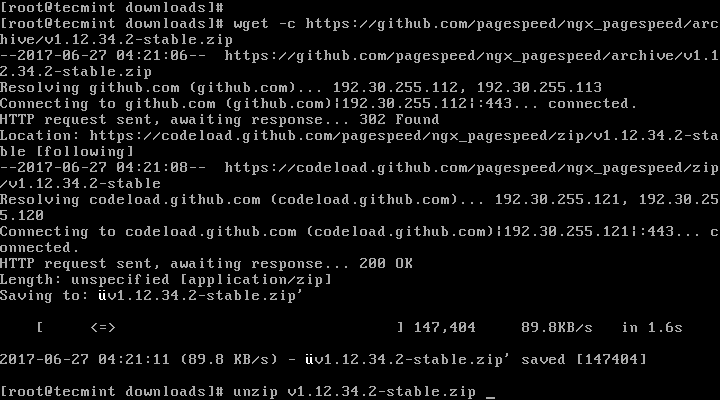
接下来,下载 ngx_pagespeed 源文件并解压。
# wget -c https://github.com/pagespeed/ngx_pagespeed/archive/v1.12.34.2-stable.zip
# unzip v1.12.34.2-stable.zip
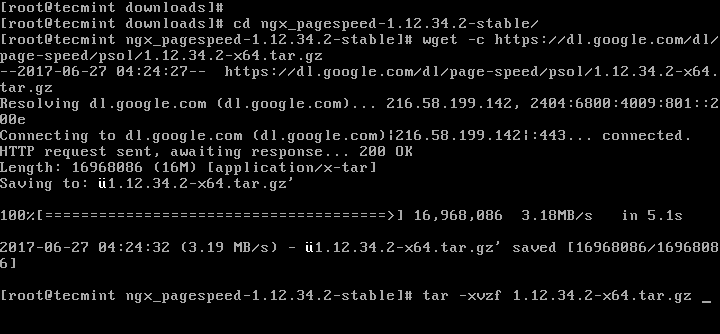
现在进入解压后的 ngx_pagespeed 目录,下载 PageSpeed 优化库:
# cd ngx_pagespeed-1.12.34.2-stable/
# wget -c https://dl.google.com/dl/page-speed/psol/1.12.34.2-x64.tar.gz
# tar -xvzf 1.12.34.2-x64.tar.gz
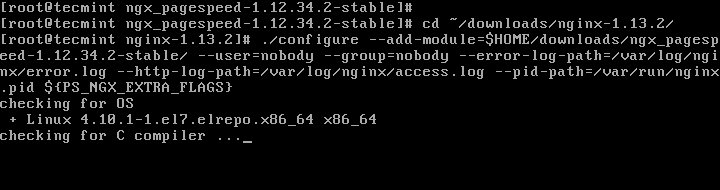
第 2 步:配置和编译 Nginx
现在进入 nginx-1.13.2 目录,并通过运行以下命令来配置 Nginx 源。
# cd ~/downloads/nginx-1.13.2
# ./configure --add-module=$HOME/downloads/ngx_pagespeed-1.12.34.2-stable/ --user=nobody --group=nobody --error-log-path=/var/log/nginx/error.log --http-log-path=/var/log/nginx/access.log --pid-path=/var/run/nginx.pid ${PS_NGX_EXTRA_FLAGS}
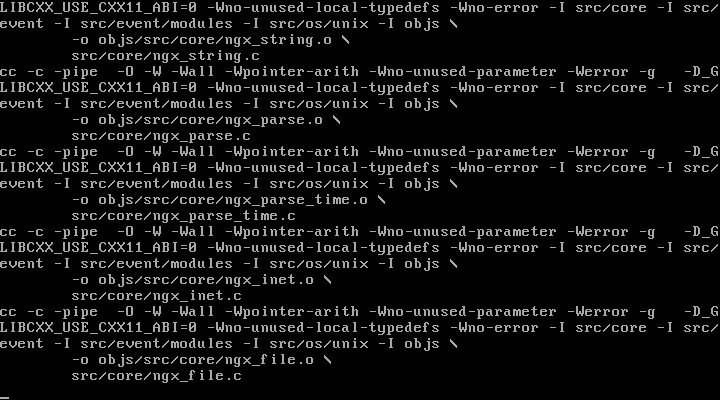
接下来,编译安装 Nginx。
# make
# make install
安装完成后,为 Nginx 创建所有必要的符号链接。
# ln -s /usr/local/nginx/conf/ /etc/nginx/
# ln -s /usr/local/nginx/sbin/nginx /usr/sbin/nginx

第 3 步:为 SystemD 创建 Nginx 单元文件
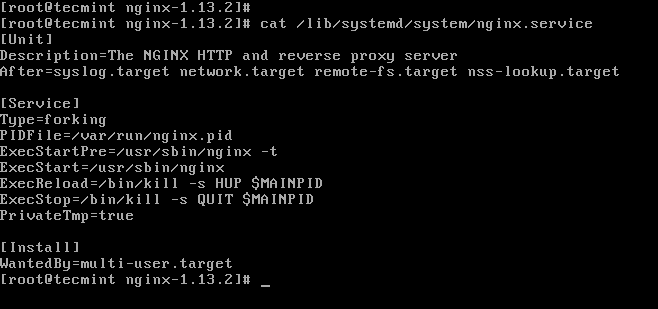
接下来,由于 systemd 是 CentOS 7 中的 init 系统,需要手动为其创建 Nginx 单元文件。
首先,创建文件 /lib/systemd/system/nginx.service,然后抓取NGINX systemd 服务文件,将单元文件配置粘贴到以下文件
记下在配置和编译 Nginx 时设置的 PIDFile 和 NGINX 二进制文件的位置,将在单元文件中的相应变量中设置它们,如下所示:
[Unit]
Description=The NGINX HTTP and reverse proxy server
After=syslog.target network.target remote-fs.target nss-lookup.target

[Service]
Type=forking
PIDFile=/var/run/nginx.pid
ExecStartPre=/usr/sbin/nginx -t
ExecStart=/usr/sbin/nginx
ExecReload=/bin/kill -s HUP $MAINPID
ExecStop=/bin/kill -s QUIT $MAINPID
PrivateTmp=true

[Install]
WantedBy=multi-user.target
保存并关闭文件。
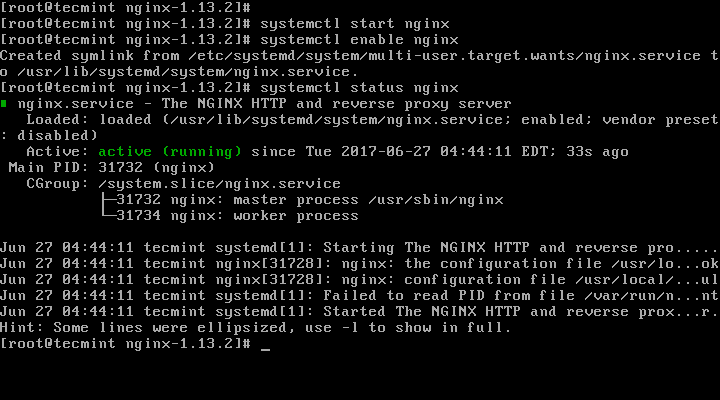
启动 nginx 服务,并通过运行以下命令使其在系统启动时运行。
# systemctl start nginx
# systemctl enable nginx
# systemctl status nginx
第 4 步:使用 Pagespeed 模块配置 Nginx
安装好 Nginx 后,接下来需要启用 Ngx_pagespeed 模块。
首先创建一个目录,模块将在该位置缓存网站文件,并为该目录上设置适当的权限。
# mkdir -p /var/ngx_pagespeed_cache
# chown -R nobody:nobody /var/ngx_pagespeed_cache

现在启用 Ngx_pagespeed 模块,打开 Nginx 配置文件并添加以下行。
重要提示:如果你在服务器上配置了多个 nginx 虚拟主机,请将该 pagespeed 指令添加到每个服务器配置区块以在每个站点上启用 Ngx_pagespeed。
# vi /etc/nginx/nginx.conf
在配置文件的 server 块中添加以下 Ngx_pagespeed 配置行。
# Pagespeed main settings

pagespeed on;
pagespeed FileCachePath /var/ngx_pagespeed_cache;


# Ensure requests for pagespeed optimized resources go to the pagespeed
# handler and no extraneous headers get set.

location ~ "\.pagespeed\.([a-z]\.)?[a-z]{2}\.[^.]{10}\.[^.]+" { add_header "" ""; }
location ~ "^/ngx_pagespeed_static/" { }
location ~ "^/ngx_pagespeed_beacon" { }
以下是在 Nginx 默认配置文件中启用Ngx_pagespeed的配置文件示例。
#user  nobody;
worker_processes  1;
#error_log  logs/error.log;
#error_log  logs/error.log  notice;
#error_log  logs/error.log  info;
#pid        logs/nginx.pid;
events {
    worker_connections  1024;
}
http {
    include       mime.types;
    default_type  application/octet-stream;
    #log_format  main  '$remote_addr - $remote_user [$time_local] "$request" '
    #                  '$status $body_bytes_sent "$http_referer" '
    #                  '"$http_user_agent" "$http_x_forwarded_for"';

    #access_log  logs/access.log  main;
    sendfile        on;
    #tcp_nopush     on;
    #keepalive_timeout  0;
    keepalive_timeout  65;
    #gzip  on;
    server {
        listen       80;
        server_name  localhost;
        #charset koi8-r;
        #access_log  logs/host.access.log  main;

        # Pagespeed main settings
        pagespeed on;
        pagespeed FileCachePath /var/ngx_pagespeed_cache;

        # Ensure requests for pagespeed optimized resources go to the pagespeed
        # handler and no extraneous headers get set.

        location ~ "\.pagespeed\.([a-z]\.)?[a-z]{2}\.[^.]{10}\.[^.]+" { add_header "" ""; }
        location ~ "^/ngx_pagespeed_static/" { }
        location ~ "^/ngx_pagespeed_beacon" { }

        location / {
            root   html;
            index  index.html index.htm;
        }
        #error_page  404              /404.html;
        # redirect server error pages to the static page /50x.html
        #
        error_page   500 502 503 504  /50x.html;
        location = /50x.html {
            root   html;
        }
        # proxy the PHP scripts to Apache listening on 127.0.0.1:80
        #
        #location ~ \.php$ {
        #    proxy_pass   http://127.0.0.1;
        #}
        # pass the PHP scripts to FastCGI server listening on 127.0.0.1:9000
        #
        #location ~ \.php$ {
        #    root           html;
        #    fastcgi_pass   127.0.0.1:9000;
        #    fastcgi_index  index.php;
        #    fastcgi_param  SCRIPT_FILENAME  /scripts$fastcgi_script_name;
        #    include        fastcgi_params;
        #}

        # deny access to .htaccess files, if Apache's document root
        # concurs with nginx's one
        #
        #location ~ /\.ht {
        #    deny  all;
        #}
    }

    # another virtual host using mix of IP-, name-, and port-based configuration
    #
    #server {
    #    listen       8000;
    #    listen       somename:8080;
    #    server_name  somename  alias  another.alias;

    #    location / {
    #        root   html;
    #        index  index.html index.htm;
    #    }
    #}

    # HTTPS server
    #
    #server {
    #    listen       443 ssl;
    #    server_name  localhost;

    #    ssl_certificate      cert.pem;
    #    ssl_certificate_key  cert.key;

    #    ssl_session_cache    shared:SSL:1m;
    #    ssl_session_timeout  5m;

    #    ssl_ciphers  HIGH:!aNULL:!MD5;
    #    ssl_prefer_server_ciphers  on;

    #    location / {
    #        root   html;
    #        index  index.html index.htm;
    #    }
    #}

}
通过运行以下命令确保 Nginx 配置文件没有语法错误,如果一切顺利,将看到下面的输出。
# nginx -t

最后,重新启动 Nginx 以使配置生效。
# systemctl restart nginx
第 5 步:使用 Ngx_pagespeed 测试 Nginx
要想知道 Ngx_pagespeed 模块是否正常运行,运行以下命令查看它是否出现在 X-Page-Speed 标头中。
# curl -I -p http://localhost
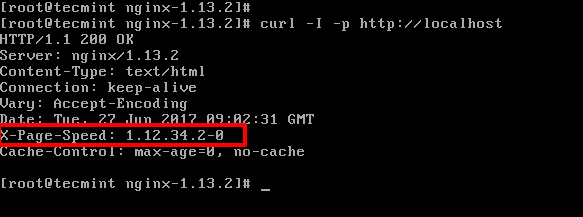
如果没有看到上述标题,请返回上面步骤,查看是否在网站的配置文件中的 server 块中添加 Ngx_pagespeed 配置行。
Ngx-pagespeed Github 存储库:https : //github.com/pagespeed/ngx_pagespeed
作者:牛奇网,本站文章均为辛苦原创,在此严正声明,本站内容严禁采集转载,面斥不雅请好自为之,本文网址:https://www.niuqi360.com/linux/speed-up-nginx-performance-with-ngx_pagespeed-on-centos-7/